Introduction
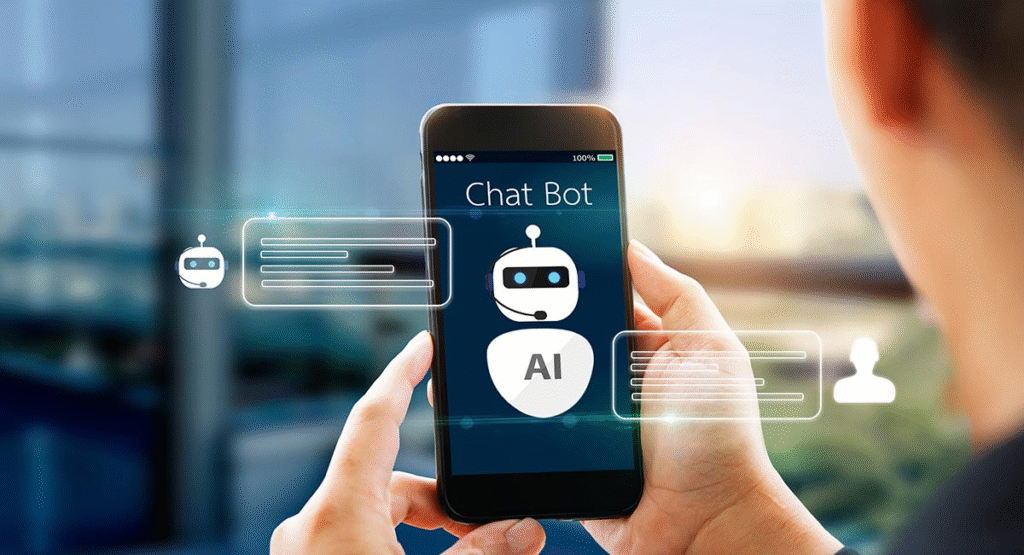
AI chatbots are revolutionizing customer service, virtual assistants, and automation. With OpenAI’s powerful language models (like GPT-3.5 or GPT-4), you can create a smart chatbot in Python with just a few lines of code.
In this step-by-step guide, you’ll learn:
✅ How to set up OpenAI API
✅ Writing Python code for a functional chatbot
✅ Deploying your bot for real-world use
Let’s dive in!
Prerequisites
Before starting, ensure you have:
- Python 3.8+ installed (Download Python)
- An OpenAI API key (Get it here)
- Basic knowledge of Python programming
Step 1: Install Required Libraries
Open your terminal and install these Python packages:
bash
pip install openai python-dotenv
openai– OpenAI’s official Python library.python-dotenv– Securely stores API keys.
Step 2: Set Up OpenAI API Key
- Create a
.envfile in your project folder:plaintextOPENAI_API_KEY=your_api_key_here - Load the key in Python (
app.py):pythonfrom dotenv import load_dotenv import openai import os load_dotenv() openai.api_key = os.getenv(“OPENAI_API_KEY”)
(Never expose your API key in code!)
Step 3: Build the Chatbot Function
Now, let’s create a function that interacts with OpenAI’s API:
python
def ask_chatbot(prompt, model="gpt-3.5-turbo"):
    response = openai.ChatCompletion.create(
        model=model,
        messages=[{"role": "user", "content": prompt}]
    )
    return response.choices[0].message.content
How It Works:
model: Uses GPT-3.5-turbo (faster & cheaper than GPT-4).messages: Sends a user prompt to OpenAI.
Step 4: Test Your Chatbot
Run this script to test:
python
user_input = input("You: ")
response = ask_chatbot(user_input)
print("Bot:", response)
Example Output:
text
You: What’s the capital of France?
Bot: The capital of France is Paris.
Step 5: Enhance Your Chatbot (Optional)
1. Add Conversation Memory
Store chat history for context-aware replies:
python
conversation_history = []

def ask_with_memory(prompt):
    conversation_history.append({"role": "user", "content": prompt})
    response = openai.ChatCompletion.create(
        model="gpt-3.5-turbo",
        messages=conversation_history
    )
    reply = response.choices[0].message.content
    conversation_history.append({"role": "assistant", "content": reply})
    return reply
2. Deploy as a Web App (Flask)
Turn your bot into a web service:
python
from flask import Flask, request, jsonify

app = Flask(__name__)

@app.route('/chat', methods=['POST'])
def chat():
    data = request.json
    reply = ask_chatbot(data['prompt'])
    return jsonify({"response": reply})

if __name__ == "__main__":
    app.run(debug=True)
Step 6: Deploy Your Chatbot
Host your bot on:
- Render (Free tier available)
- Vercel (For Flask apps)
- AWS Lambda (Serverless)
Common Errors & Fixes
❌ “Invalid API Key” → Double-check .env file.
❌ Rate Limits → Upgrade OpenAI plan if needed.
❌ Slow Responses → Use gpt-3.5-turbo for speed.
Final Thoughts
You’ve just built an AI chatbot in Python! Next steps:
- Add voice input (using Whisper API).
- Integrate with Slack/Discord.
- Fine-tune for industry-specific queries.
Need Help?
💬 Drop a comment below!